Dashboard Setup
⇐ Back to Main Onboarding page
Access the Dashboard
After you set up your password protected account you will have access to your EvaluateUR dashboard using the URL generated for your program. You can access your dashboard using the link below, or from the top navigation bar.
Make Changes and Save
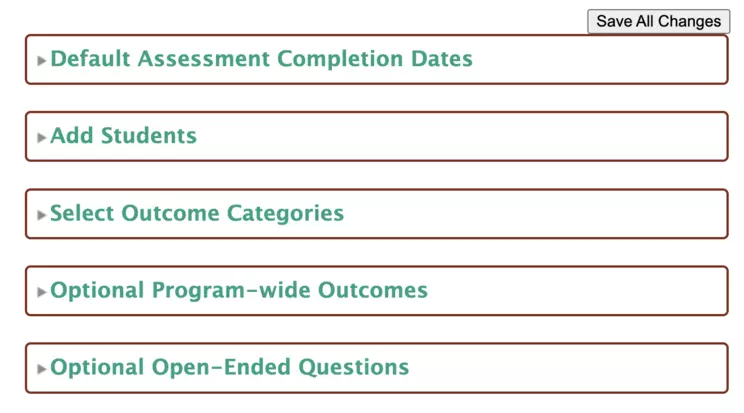
Box 1: Default Assessment Completion Dates
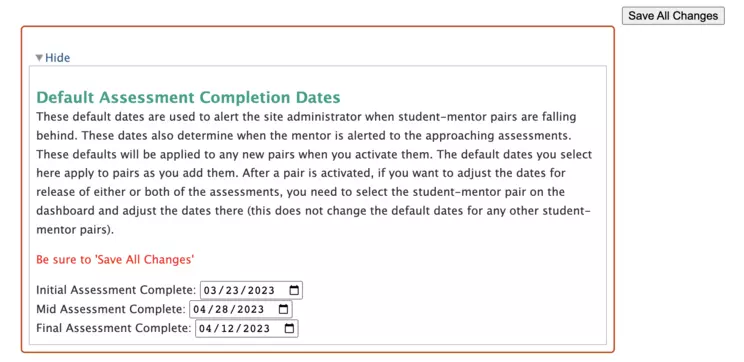
These are the dates you will use for completing steps in EvaluateUR. To determine the dates to enter in this box, plan around the timing of the start and end of the research experience. After entering the dates, be sure to hit 'Save All Changes'.
Box 2: Adding Student and Mentor Names and Email Addresses

Automated messages are sent to the email addresses you enter in Box 2. It is very important that you carefully enter your students' and mentors' names and email addresses, using email addresses will be checked often. After entering this information, be sure to hit 'Save All Changes.' Once you do this, you will be able to activate the student and mentor pairs. You are able to enter the students as soon as they are enrolled in the research program can activate them when you are ready to start EvaluateUR. If a student leaves during the course of the research, you have the option to delete the student. You also can add any student later after you start EvaluateUR.
Box 3: Select Outcome Categories
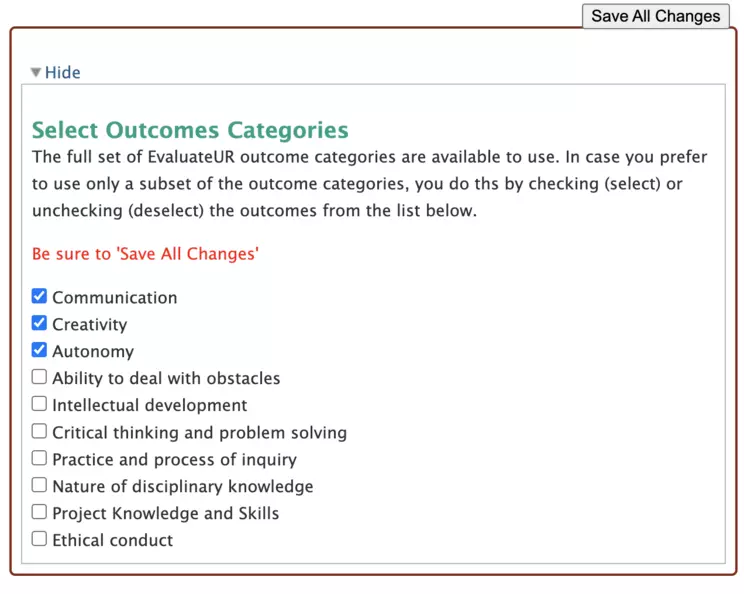
For larger programs, it is unlikely you can observe and interact with all the students using all of the outcome categories. Use this box to select a sub-set of outcome categories. Be sure to save all changes after doing this. If you advance to STEP 5 before completing Box 3, all of the outcomes will be used.
Box 4: Optional Program-Wide Outcome Categories
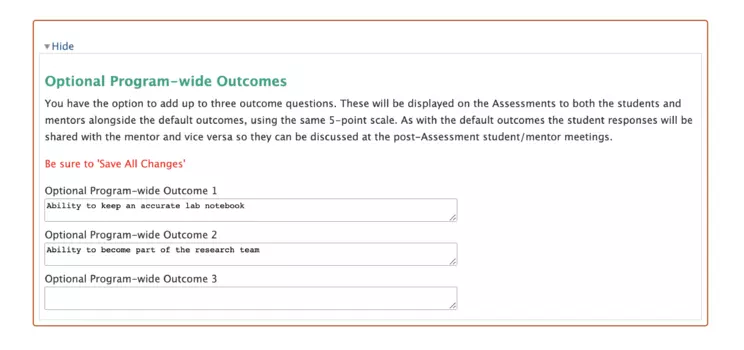
In case there are additional outcomes that apply to your research program, you can add up to 3 additional outcomes here. These outcomes will be included on the assessments in Step 5 and after. Be sure to hit 'Save All Changes' if you add outcomes.
Box 5: Optional Open-Ended Questions
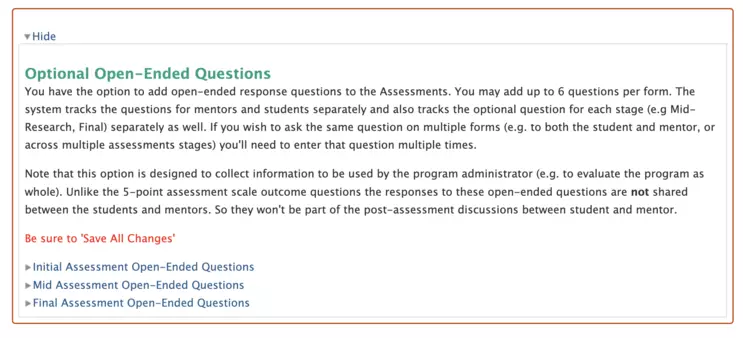
In case there are additional open-ended questions you would like to use in your research program, you can add up to 3 additional questions here. These questions will be included in the Student Pre-Research Reflection. Be sure to hit 'Save All Changes' if you add questions.
Ready to Begin
Once you have set dates, added all your students and mentors, and selected outcomes, you are ready to get started with EvaluateUR!
Next step:
Running an Orientation Session